Gallery

What’s on the painting desk

I haven’t had a huge amount of exciting hobby activity to report recently, but I’m quietly working away on various projects. Here’s a brief update on the state of play painting-wise at the moment. Definitely a Chaotic theme going on at the moment!

I’m still grinding my way through the Storm of Sigmar miniatures, trying to keep myself to a few hours per mini and live with the inevitable imperfections. I’ve now turned my attention to the Chaos side of the box and I’ve got the 5 bloodreavers finished.

bloodreavers1bloodreavers2

Obviously keeping things very simple here. I’ve gone for a cold green armour and shaded the flesh with some purple added to the mix as a complementary colour. I would have liked to get some more warm spot colours in there but there’s not a huge amount of scope for it on these very simple miniatures and I wanted to keep things simple and fast, so I limited myself to the hair on the heads that the leader is carrying. He obviously has a hatred of red heads!

I may go back and add some gore to the weapons once I’ve got the blood warriors painted.

I’ve been itching to get back into some higher end painting again recently, so I’ve also started work on a Varanguard that I received from painting legend and all round top bloke Max Faleij. This will take quite a lot longer than the Storm of Sigmar miniatures!

Not a huge amount of progress so far. I’ve partially assembled it, got a vague idea of where the base is going and made a start on the painting.

varanguard1

I airbrushed a basecoat of Vallejo squid pink desaturated with light grey and white from underneath and a 1:1 mix of incubi darkness and kabalite green from above then cracked out the paintbrushes.

The flesh was shaded with a mix of vmc magenta heavily desaturated with cloudy grey and then a violet, black red and black mix for the deepest recesses. Then I highlighted with white and a tiny amount of squid pink mixed in. I’m thinking I’ll go back later and maybe add some veins or other markings for interest, plus glaze some more colour around the mouth and tail.

For the armour I’ve been highlighting with a 1:1 mix of baharroth blue and sybarite green, then with white added. I shaded with a mix of incubi darkness and black and glazed with kabalite green but it still needs more work. I plan on putting in some reflections from the lava that will be on the base too.

I’ve just started painting the black trim. I intend to use true metallic on this piece but I wanted to avoid making all the trim metallic as I prefer to use these paints sparingly.

That’s it for now!

Gallery

Elf warband: Heroes

The rest of the Elf warband! As usual these mighty heroes are available on Shapeways. There is still free shipping on any order containing the original 4 heroes or the skeletons until the 20th.

elf_heroes

To add some variety to the warband, this set contains a heavily armoured Elf Lord, a Blademaster and my first cavalry – a hero riding a white lion.

lion1lion2lion_sw

One of the reasons I started working in 15 mm scale was because it would allow me to make some slightly larger miniatures without the 3d printing costs becoming too ridiculous. Sadly it’s still more expensive than I’d like, but it would have been unthinkable for me to have made this lion rider at 32 mm!

Sculpting the lion was quite a challenge and I went through a couple of iterations. I know I could still make it better but you have to draw the line somewhere and move on.

elf_lord1elf_lord2elf_lord_coin

The pose for the Elf Lord was definitely inspired by one of the Stormcast Liberators that I was painting at the time! The challenge here was to make a heavier looking suit of armour that still fit in with the aesthetic of the rest of the warband. I’m quite pleased with how this guy turned out.

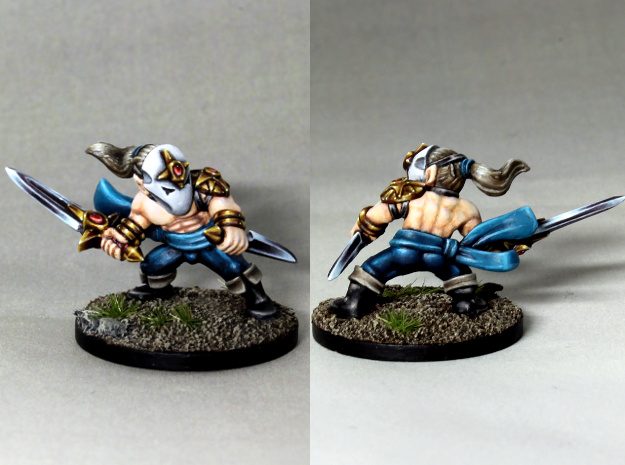
blademasterblademaster_sw

The Blademaster is intended to be very fast and very deadly, but obviously quite vulnerable since he doesn’t put much stock in wearing armour. I made him slightly less muscular than the Warriors of Darkness savages but I think I maybe could have gone a bit further.

That’s the second warband complete now, so I’ll be giving the 15 mm miniatures a rest for a bit. It’s probably time to get back to a slightly larger scale!

elf_warband

Gallery

Elf warband: Sorceress and retinue

Shock horror! Gareth has made some elves! Who would have thought it? 😉

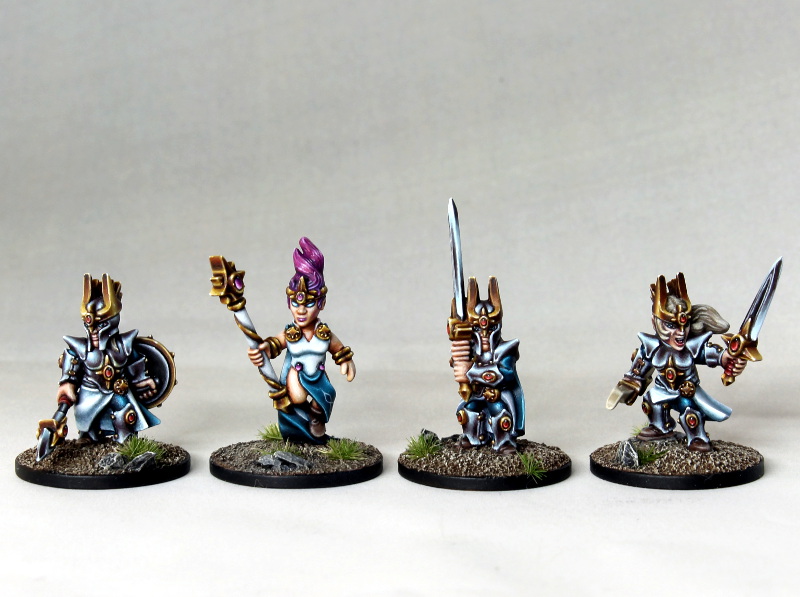
More of my increasingly large collection of 15 mm miniatures, this fearsome elven sorceress and her retinue can now be purchased from Shapeways. Until 20th November you can even get free shipping if you buy them with the original four heroes or the skeletons.

elves1_frontelves1_rear

I love the aesthetic of Games Workshop’s High Elves but I didn’t just want to replicate the pointy helmets and scale mail vibe in a different scale, so I’ve come up with a slightly different take. The inspiration is probably still quite obvious though!

This isn’t quite all the elves I’ve sculpted, but some production issues with the more adventurous sculpts mean that this is all I can share for now. I hope to show the rest in a few weeks. Then I’ll finally have two full warbands and the Song of Blades and Heroes adventures can commence!

elf_sorceress_sw

It’s challenging to capture the female form with such distorted proportions but I’m fairly pleased with the result here. Part of me wishes I’d had the sorceress floating a bit higher in the air, but concerns about the centre of gravity and the extra cost of using more material made me keep her fairly close to the ground. Not much danger of her falling over when she’s attached to a penny though!

I elected to use liche purple and warlock purple instead of the red spot colour I’ve used on all the other elves to make her seem a bit more otherworldly. A couple of cheeky bits of freehand emphasize her importance. 😉

elf1_swelf2_swelf3_sw

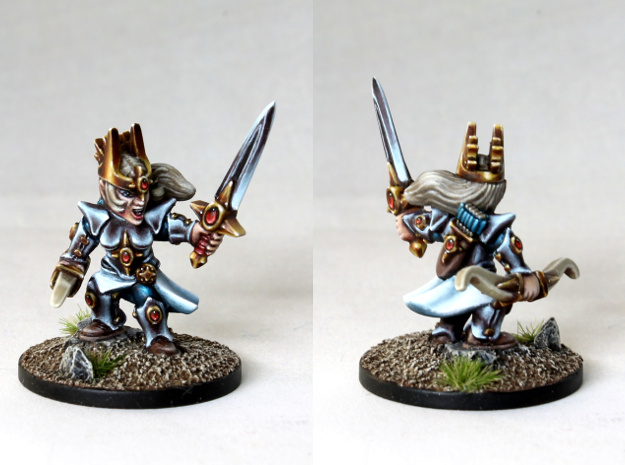
Back on familiar ground here with my tried and testing non metallic metal recipes. I’ve elected to go with turquoise (the citadel triad of stegadon scale green, sotek green and temple guard blue) rather than the more traditional blue. And you have to have white cloth somewhere on an elf!

Well, it wouldn’t be a 15 mm post without a gratuitous money shot so I suppose I’d better close with this:

sorceress_penny

Gallery

Step by step: Warriors of Darkness Savage

Firstly, some good news – my heroes and skeletons have been included in the Shapeways gift guide, so any order including them qualifies for free shipping in the US and EU using the code SHIP4FREE until November 20th!

And now to business:

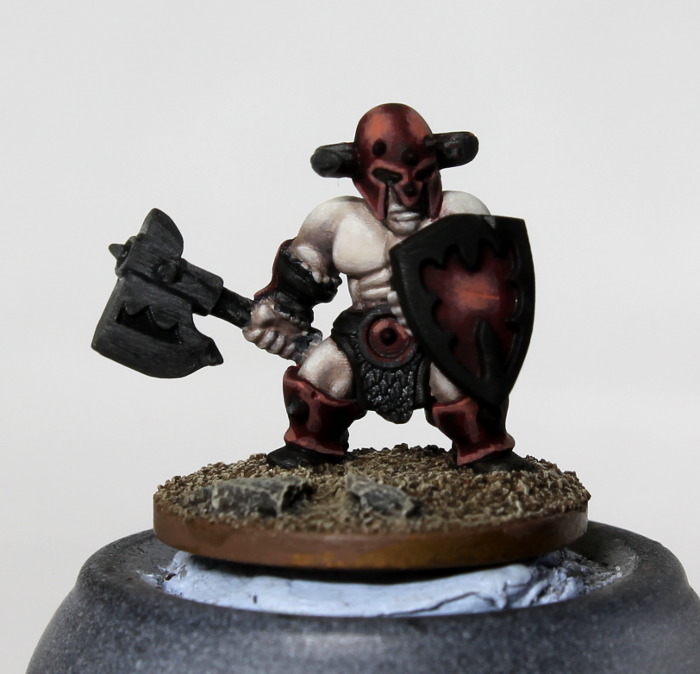
I actually remembered to take some photos while I was painting my Warriors of Darkness, so I thought I’d post a step by step guide. I’m using one of the savages here since it contains areas of both flesh and armour.

I’ll just explain briefly what I did in each step rather than going into detailed discussion, but the approach is very similar to my recent Dark Sword painting tutorial. I’ve tried to keep the lighting level consistent but because I painted the miniatures over a few days there is a little variation, so apologies for that. My paints are a mixture of different vintages – sadly some of them are no longer available but it should be possible to find equivalents with a little googling!

I find it great fun painting these 15 mm miniatures. The smaller size means I can turn them out in just a few hours each without compromising on quality. I exaggerated all the details during sculpting, so they’re actually less fiddly than a lot of 28 mm minis I’ve come across.

hordesman1

I started by removing the remaining supports and gently sanding away any print artifacts with 800 grit sandpaper. The miniature was washed in warm soapy water and glued to a penny with a mixture of sand and small pieces of slate applied over a thin layer of milliput.

(There’s another post here where I discuss the initial preparation of these miniatures in a little more detail.)

hordesman2

I painted the base using gorthor brown and cloudy grey with washes of agrax earthshade and nuln oil. I then drybrushed with graveyard earth, karak stone and longbeard grey.

The flesh was basecoated with 2:1 fair highlight and rakarth flesh. I didn’t use any primer – the plastic takes the paint well.

hordesman3

I shaded the flesh with a 1:1:1 mix of rakarth flesh, cloudy grey and rhinox hide with a little reikland fleshshade added. A deeper shade of 1:1:1 cloudy grey, rhinox hide and black was then applied to the deepest recesses.

hordesman5

The shading was neatened up a bit where necessary with a re-application of the base coat. I then added a layer of 1:1 creamy ivory and white.

hordesman6

The armour was base coated with khorne red.

hordesman6b

A highlight of 1:1 squig orange and white was applied to the armour.

hordesman7

The armour was shaded with a khorne red and black mix, then pure black in the deepest recesses.

hordesman8

A second highlight of white with a little of the previous highlight mix added.

hordesman9

The armour was then glazed with evil sunz scarlet and khorne red.

hordesman10

The axe handle was painted with khemri brown, shaded with a mix of desert yellow and black and highlighted with yellowed bone.

The edge of the shield was painted with abaddon black and highlighted with cloudy grey. The axe was base coated with cloudy grey.

hordesman11

The axe was highlighted with a 1:1 mix of rainy grey and white, with a touch of temple guard blue added.

hordesman12

The axe was shaded with a mix of cloudy grey and black, with a little mephiston red added. Pure black was used in for the deepest shadows.

hordesman13

The axe was highlighted again with white and a little of the previous highlight mix added.

hordesman14

The highlight paints were used to create scoring on the axe blade (using a gentle touch and a brush with a very good point). Small pure white highlight spots were added and the ground reflections were glazed with rainy grey with a small amount of dark flesh added.

hordesman15

A second highlight of 1:1 rainy grey and white was applied to the shield edge and a black glaze was used to neaten it up. The boots and the loin cloth were painted the same way.

The fur was painted with rhinox hide, then highlighted over a progressively smaller area with bestial brown, vomit brown and yellowed bone.

The leather straps were painted with rhinox hide, highlighted with 1:1 ratskin flesh and tanned skin and shaded with black.

hordesman16

The brass was base coated with 1:1 dark flesh and vermin brown, highlighted with 1:1 orange brown and creamy ivory, then with more creamy ivory. Shades were rhinox hide and black. The base coat was used for glazing.

The horns were painted with creamy ivory then balor brown, rhinox hide and black working towards the ends so each colour covered a smaller area than the last.

The armour was finished with small white highlights and some extra chips painted onto the helmet.

The eyes were painted and the lower lip glazed with a little khorne red added to the flesh tone highlight.

Finally the edge of the penny was painted black and a tuft from MiniNatur added. Done!