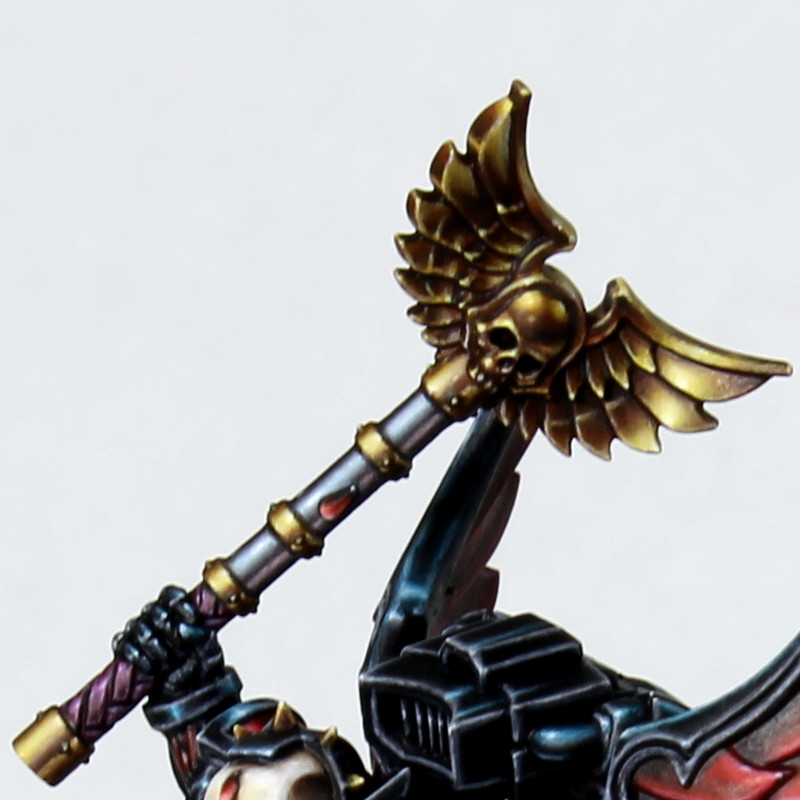
I’ve had the blood angels chaplain in my “future projects” pile for years, but with the advent of primaris space marines it became clear to me that if I didn’t get off my backside and make the chaplain a current project pretty soon then he’d probably never get painted!
I’ve been sharing some work in progress on instagram (nicholas.gareth), but here he is in all his finished glory.
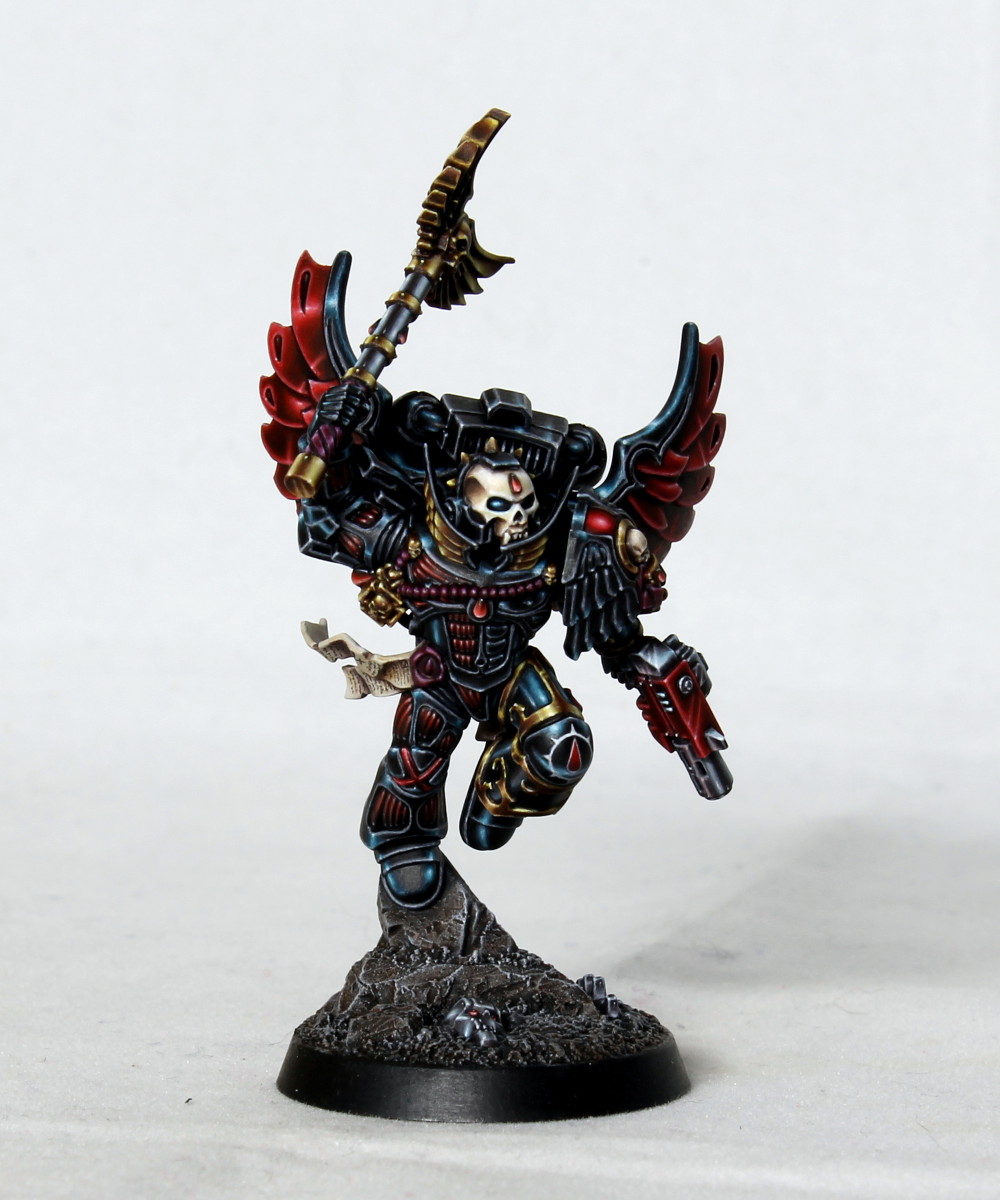
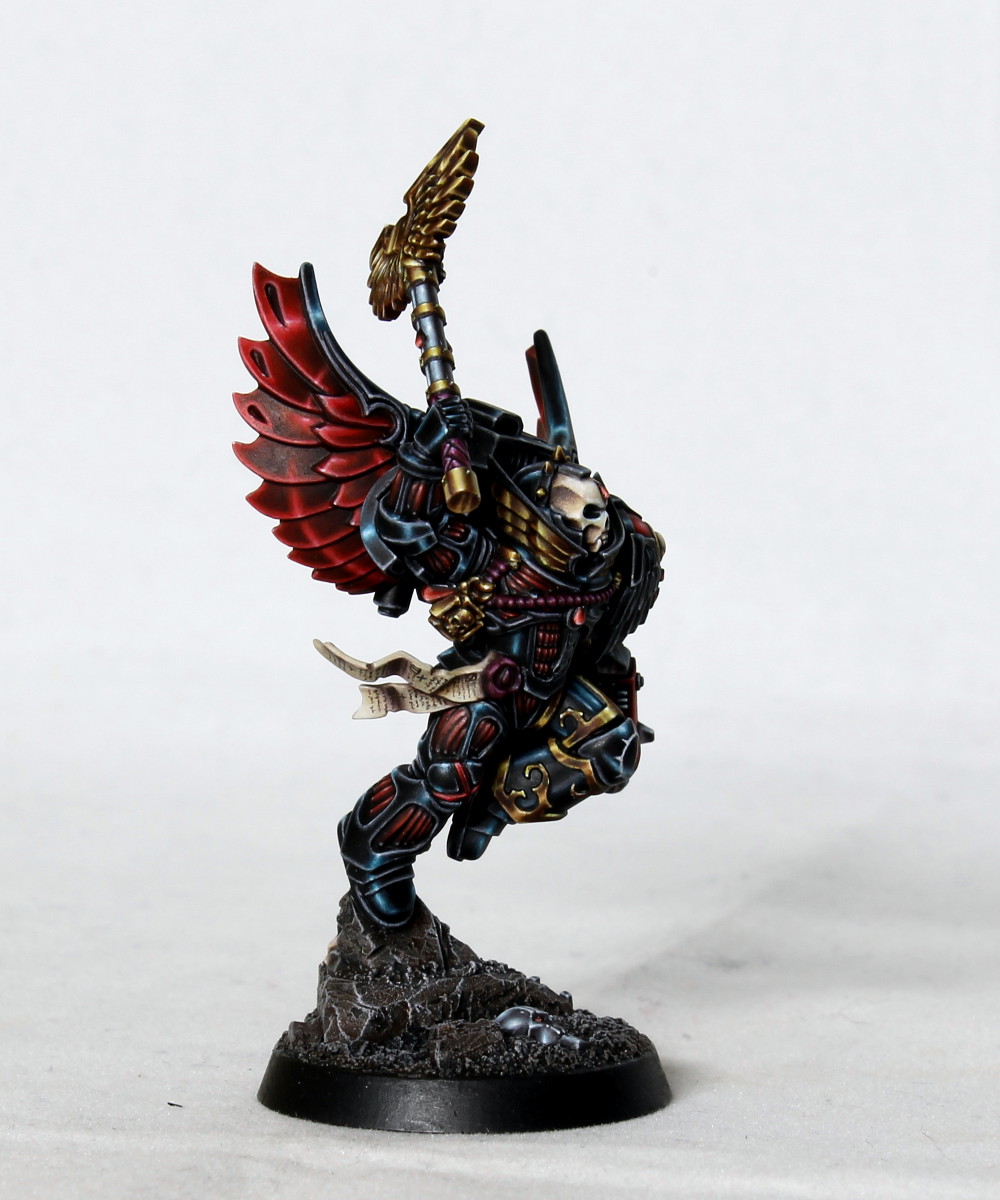
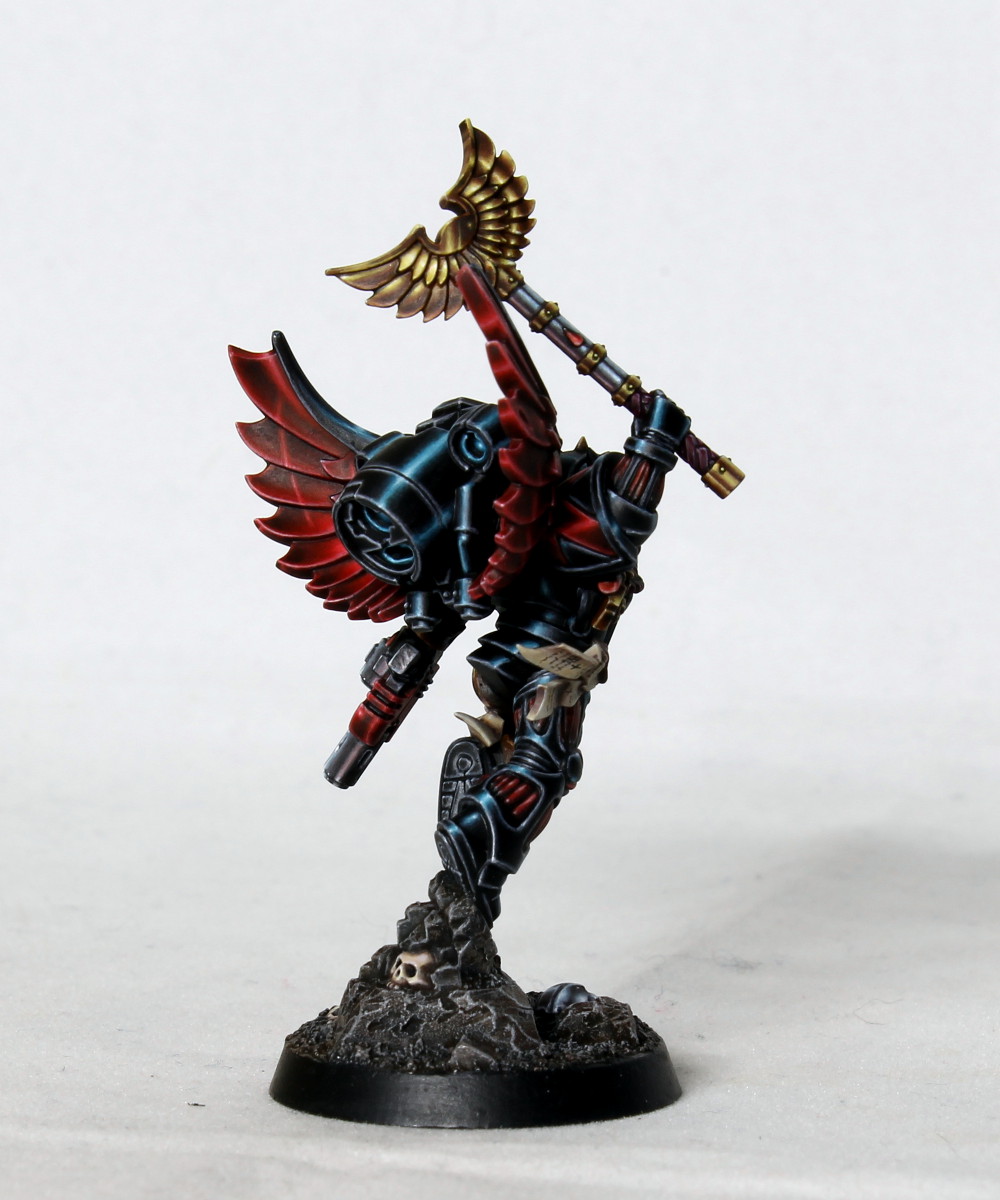
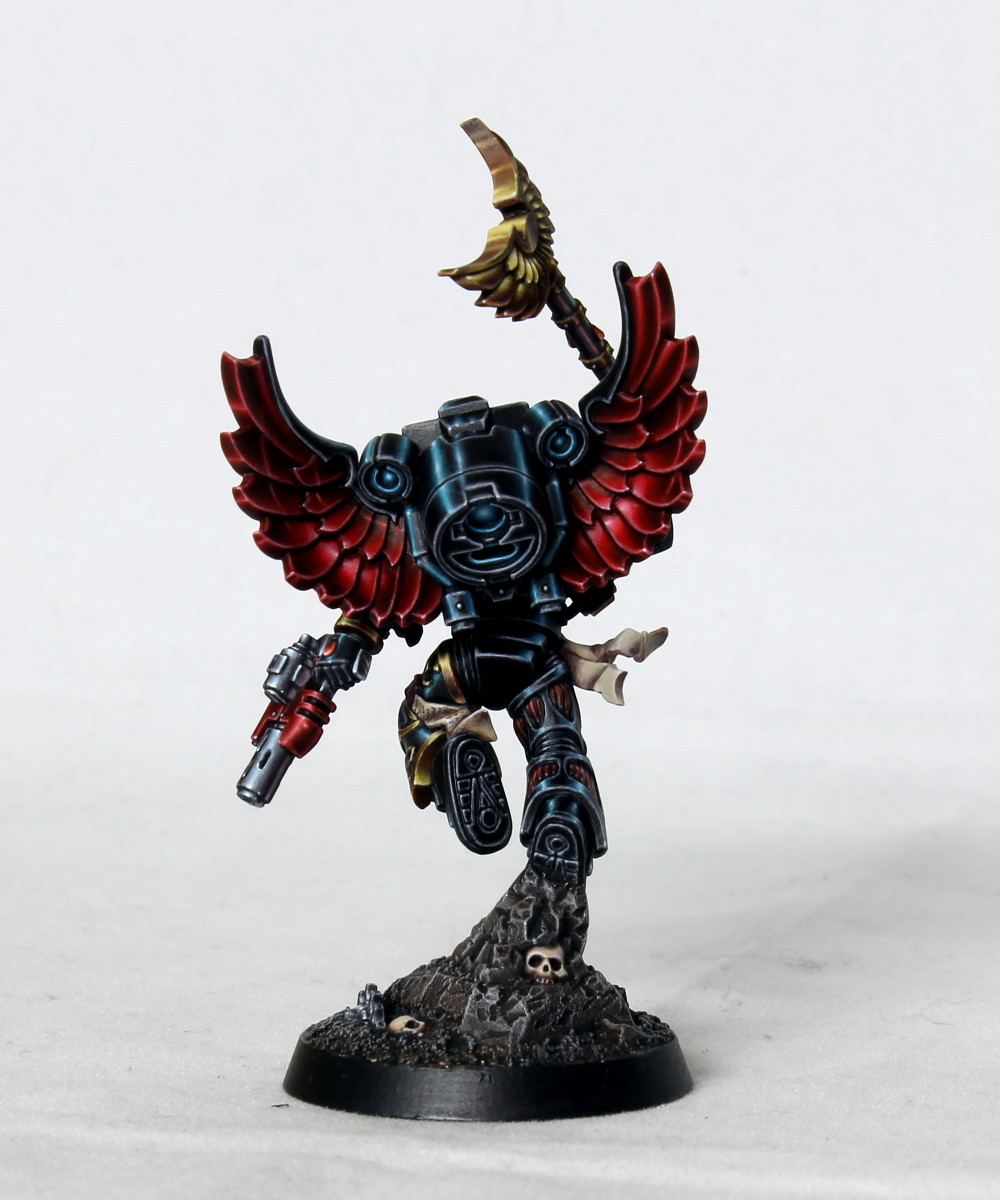
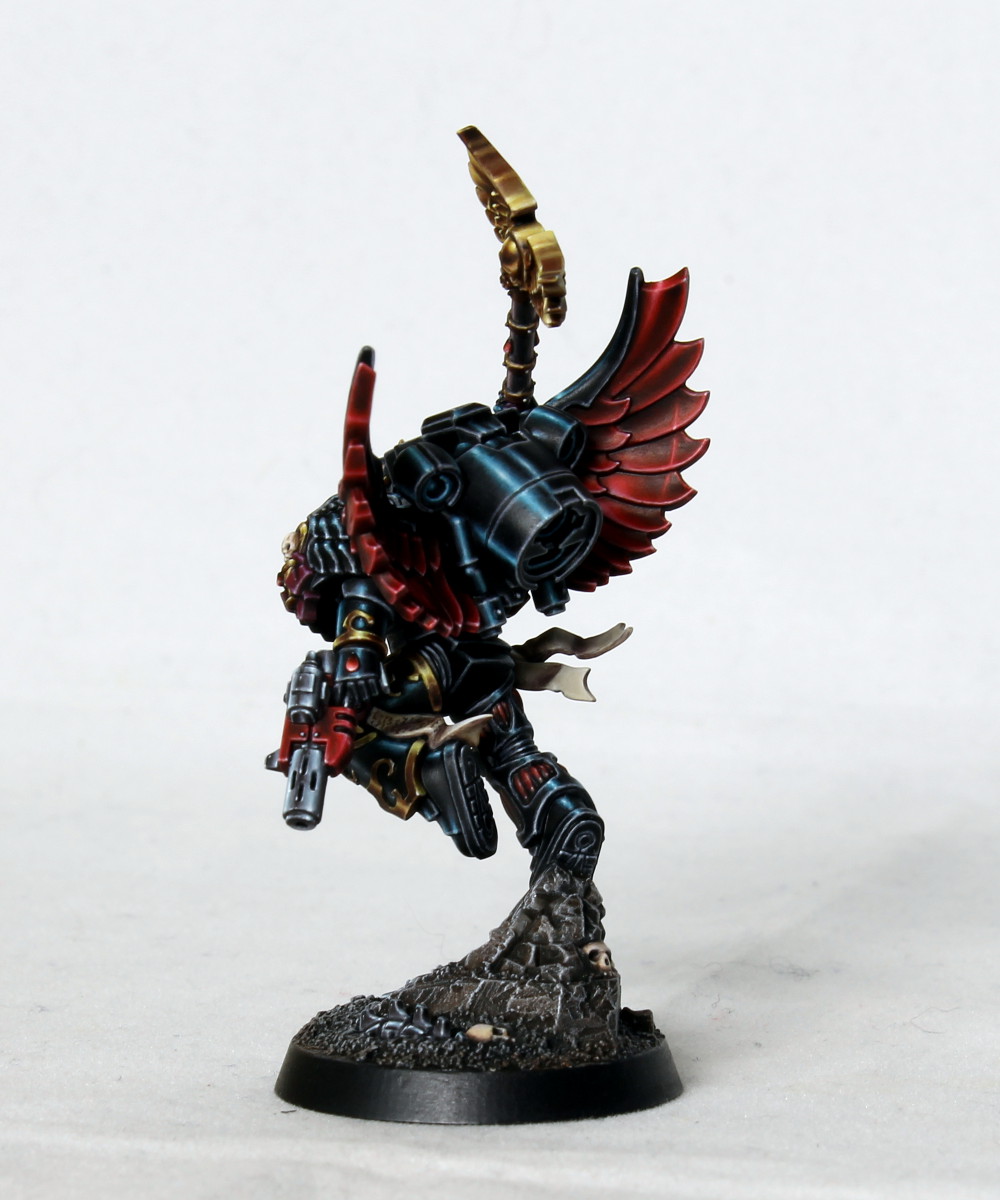
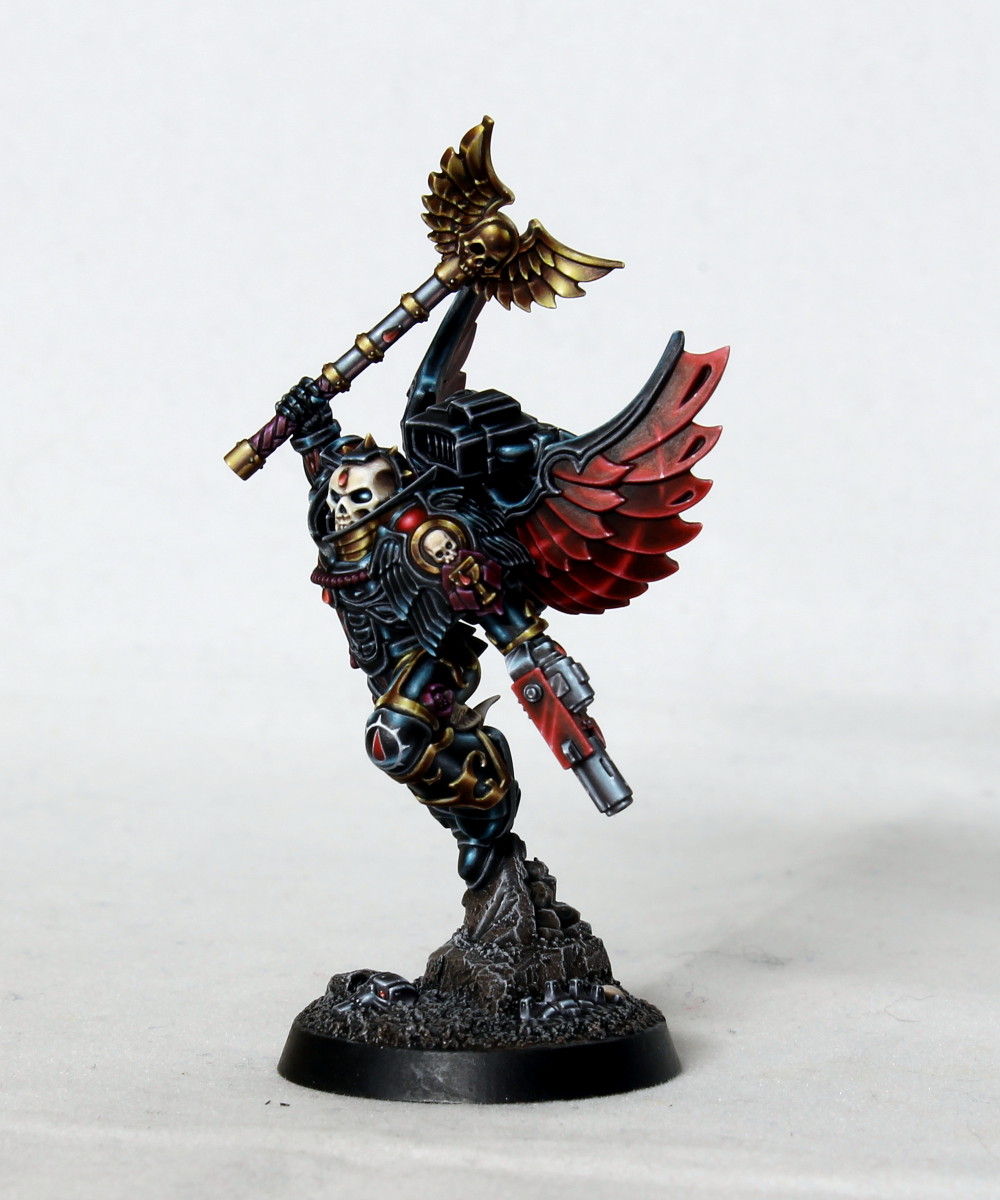
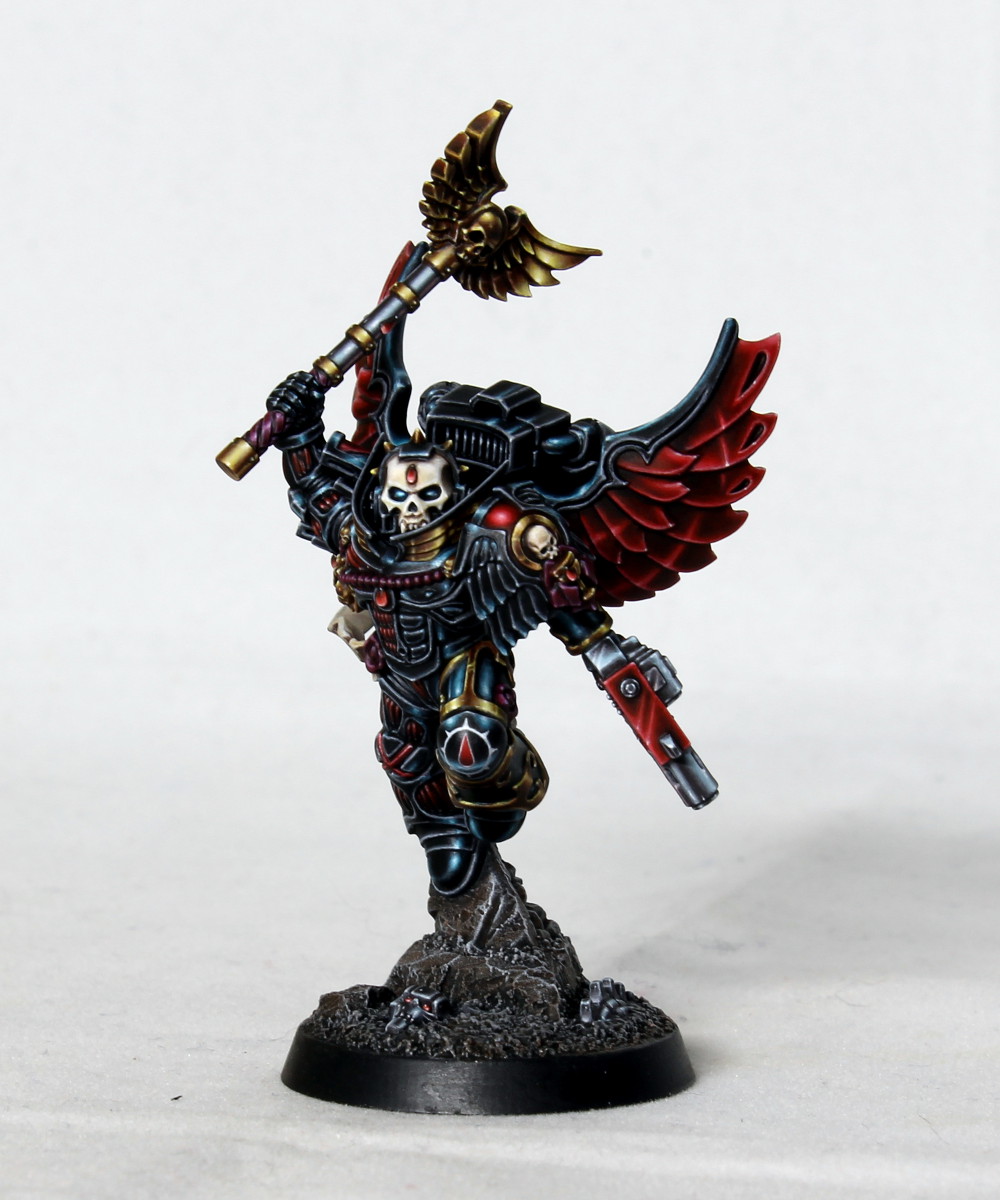
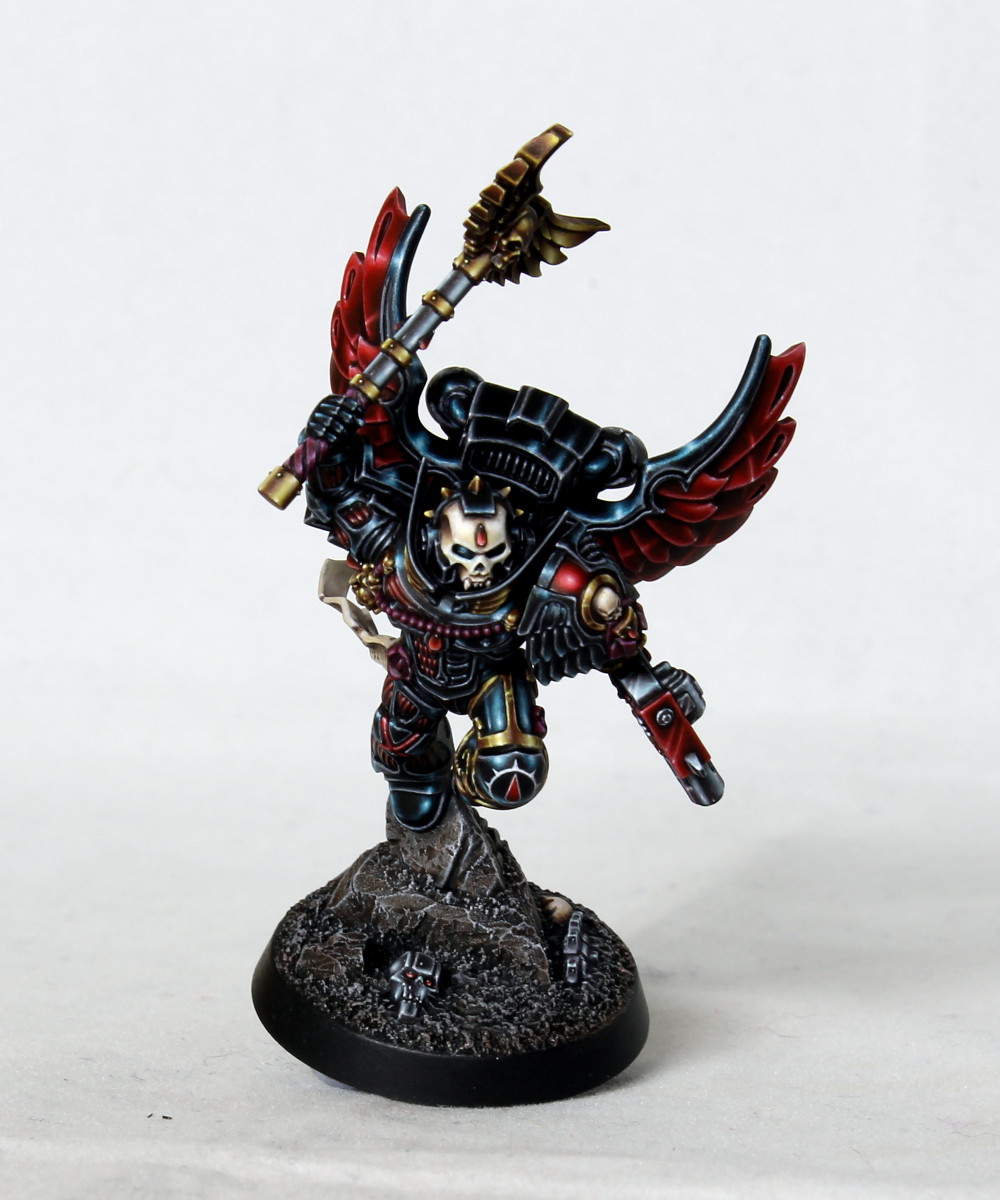
If you’d like to know every detail about how I painted this miniature then you can purchase a painting guide here. I’ve used pretty much the same paints and techniques that I used when I painted my slayer sword winning blood angels diorama, so if you’d like some more insight into how that piece was created then this guide is for you!
The chaplain is also for sale, so please contact me if you’re interested in adding him to your collection. Sold, sorry!

very nice, like the tutorial route you’ve chosen, I’m on instagram now too under almost_zab
LikeLiked by 1 person
I’m your first follower!
LikeLike
Yes! I just started it a day or two ago. CMONs forums have gotten all glitchy and weird so i have been forced onto social media It burns out here in the light – it burnsssssssssssss.
LikeLike
Phenomenal work, I have no idea how you do it!!?
LikeLike
You should buy the guide! 😉
LikeLike
Never purchased anything so fast.
LikeLike
Thanks!
LikeLike
very beautifull work
LikeLiked by 1 person
Wow – stunning work
LikeLiked by 1 person
Awesome work Gareth!! For your armature effect do you have had any particular inspiration?
LikeLiked by 1 person
Darren Latham and Joe Tomaszewski were the guys I always wanted to emulate back when they were on the GW ‘Eavy Metal team.
LikeLike
Truest fantastic and beautiful work. I have purchased the guide and followed you on instagram. Can’t wait to see more of your work. Such an inspiration.
LikeLike
Thanks very much! Appreciate the support!
LikeLike
Hi there Gareth!
I love your work, really very inspirational.
I have a bit of feedback on the guide if thats ok. Overall I totally loved it and it was definitely a bargain. But I do think a little bit more emphasis on the techniques you used would really help a relatively new painter like me!
Ive got my head around using a damp brush to feather the edges of the highlight paint in the way you describe in the “Area highlighting technique” section. However the glaze step (that seems to smooth the highlight so beautifully) is a bit less well described. Is it as simple as running the glaze over the entire highlight area? Or is something more complicated involved!?
Thanks again for the great guide.
Tom
LikeLiked by 1 person
Thanks for your support and the great feedback!
With the glazing, multiple applications will be required (allowing the paint to dry fully between each). There’s no hard and fast rule about where to place it, as it depends on how the previous steps have turned out. In general though, most of the application will be in that slightly rough region between the highlight and the shade (exactly where you would expect to find the mid tone!). I do often glaze over the entire area once or twice as well though as it helps pull everything together. I’ll try to come up with a way of making this clearer in a future guide. Cheers!
LikeLike
Hi Gareth. I have found on another site that black reflects a lot of different colours. Do you think I could replace the blue reflections/highlights with red? I am wondering if it would be overpowering or look like a mess? Maybe a different colour wingset to help.
LikeLike
You can certainly try it! I haven’t done this myself. Personally I like the cool tone that the cyan introduces to balance the piece but you shouldn’t run into trouble by further restricting the palette. I would recommend modifying the pictures of my chaplain digitally to see if you like how it looks before committing to it!
LikeLike
Hello Gareth! First of all—amazing work! I’m quite new to the hobby, coming from 1/35 tank modelling. Reg. your glazing technique for area highlights, namely step 3 of the guide: do you cover only the highlighted area with a glaze? or the whole armor area?
Thanks!
LikeLike
Thanks!
I realise I wasn’t quite clear enough about this step. I only apply the glazes in the highlighted area. Most of the applications will be in that slightly rough region between the highlight and the shade (exactly where you would expect to find the mid tone!). I do often glaze over the entire highlight area once or twice as well though as it helps pull everything together. I’ll try to make the process a little clearer in a future guide.
LikeLike
Hello Gareth! To be honest, I’m stuck at the very first step =/ I can’t seem to achieve the blending effect at all: the paint makes a thin rigid border, and while I can move the paint from the middle of the brushtroke sideways, this borderline remains regardless of my efforts. Here’s what it looks like:
http://oi67.tinypic.com/2pyuqnk.jpg — the one on the poor fellow’s leg. This is GW’s Sotek Green with maybe 10-15% water.
I have Vallejo retarded medium, which might probably help, but that thing is a gel and should be added at about 5% to the paint, and I’m unsure how to achieve that with such small quantities of paint.
I must be doing something very wrong. Can you please point me in the right direction?
On a sidenote: I’ve managed to achieve very decent results via building up highligts with numerous layers of very thinned paint, but it takes ages. Your technique seems faster, at the same time yielding amazing results.
LikeLike
Oh, and before you mention it: it takes me about 5 seconds after I make a brushstroke to put the brush into the watercup, then clear the paint off the papertowel, put the brush into my mouth to make it wet, and move it to the figure. If that’s not fast enough, I don’t know what is.
LikeLike
Sorry to hear you’re having trouble.
From the picture it looks like you are trying to manipulate the centre of the applied paint, but what you want to do is run the damp brush around the edges of it. If you’re doing a long highlight like that then you should be running the brush down each side.
If the paint is drying too quickly then a possibility is it could be too warm where you are. I find I start to struggle with this once the temperature gets up to about 25C. You can also experiment with dampening the surface before you apply the layer paint – this will also help it to flow. I don’t use retarders but it is certainly another option.
Hope this helps.
LikeLike
Thanks, Gareth! The heating raises the temperature to well above 25, I’m afraid, and the air’s very dry. Looks like I’ll have to experiment with pre-dampening the surface.
LikeLike